High Performance Bellyak Training: Volume 1
Bellyaking may be a new sport, but you don’t have to reinvent the wheel to train for it. It’s accessible to everyone – from 8 to 80 – but as with any paddle/water sport, there are a few things you can do in training that will better prepare yourself for time on the water. Read on for answers to commonly asked questions, and tips and tricks to help take your bellyak skills to the next level.
Q1: Doesn’t that hurt your back?
Only if you want it to. Back pain from sports is more commonly related to sitting and standing incorrectly as well as poor posture and core strength, not the sport itself. According to Eric Goodman of Foundation Training, many of us have adopted a movement program that doesn’t allow us to use the strongest muscles in our body properly. Ready to change that? Grab your bellyak and let’s go!
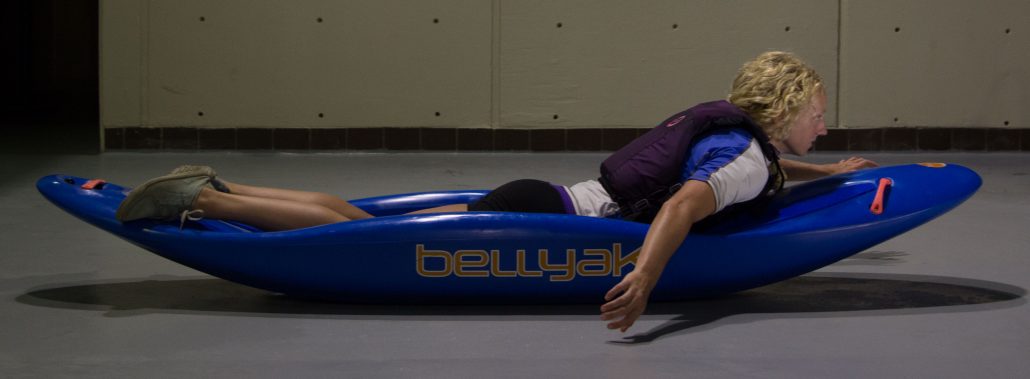
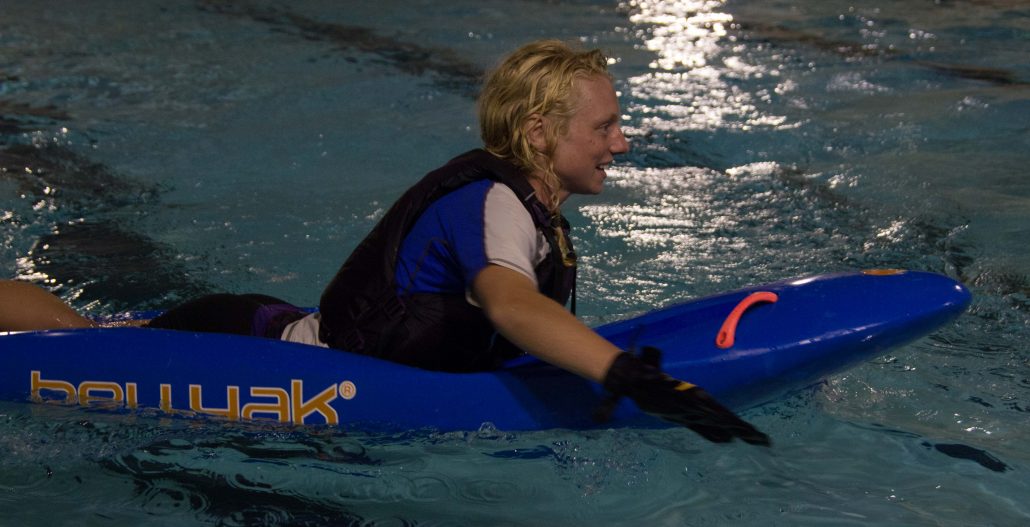
First, it’s important to note the bellyak has an ergonomic design which supports the prone position while paddling. This eases tension in the lower spine. It also allows the paddler more contact with the water so you can dig deeper and paddle stronger. If you are ready to beef up your game and become a more aggressive paddler, full-functioning muscle groups combined with flexibility are a must. I guess this is the part in the article where I am supposed to say if you have any pre-existing back conditions, consult your doctor and don’t take my word for it.
Q2: Where do I start?
Keep it simple. Your pelvis and lower spine are the most mobile areas of your body and so need the most stability and flexibility training to increase muscle control. Working on these areas will allow you to go from version 1 athlete, to a higher functioning version 2 athlete. You’ll be like a baby discovering it’s neck muscle! Proud moments!
How to begin functional training
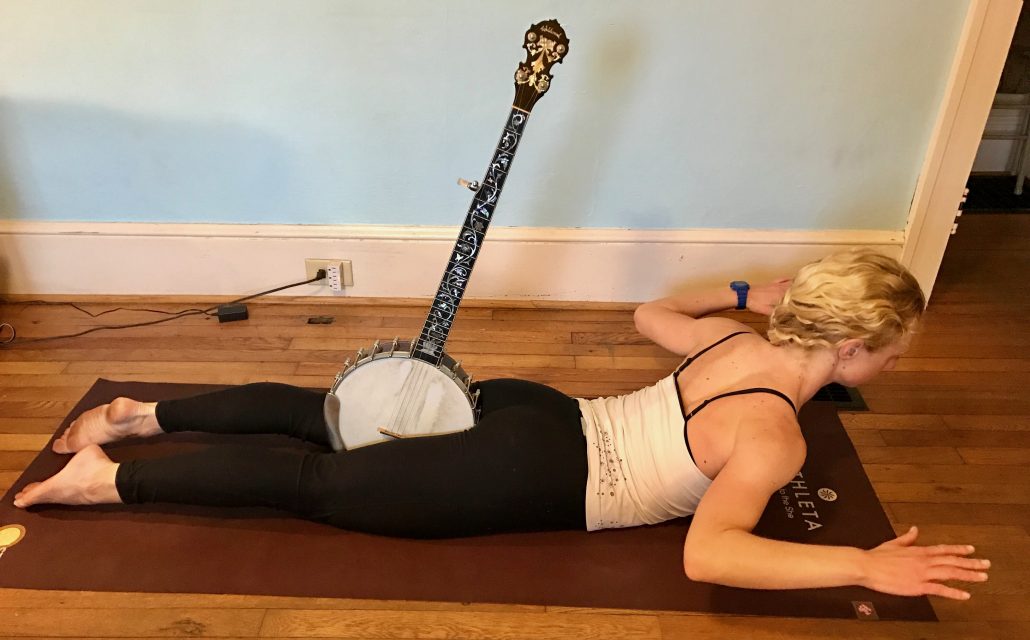
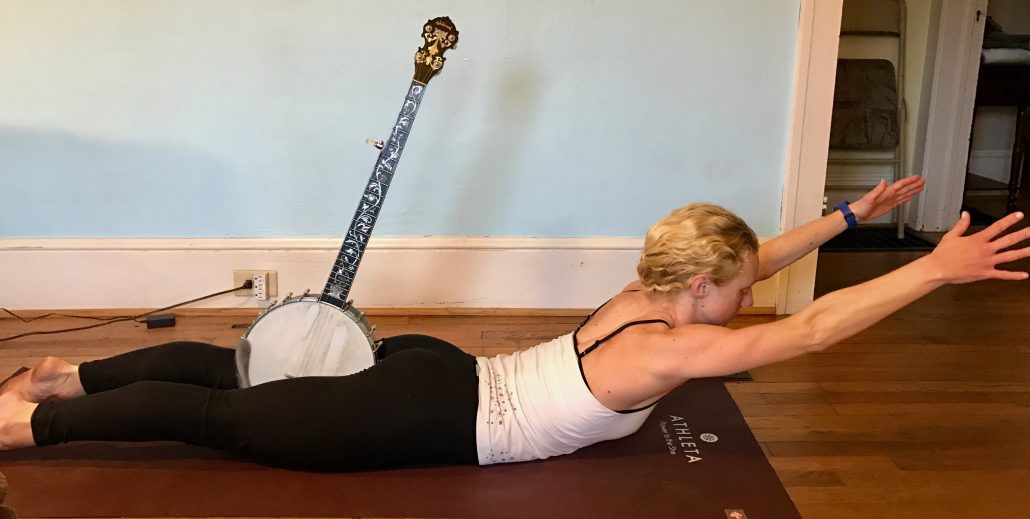
Let’s break down a couple of basic moves. My favorite is the classic yoga pose Sanskrit calls Salabhasana. Say it with me: SAL-AB-HASANA. If you are unable to pronounce the word you can also call it by its street name – Locust Post. Let’s try it!
Start with just the upper body. The majority of us can put ourselves into this position no problem, but remember we are retraining muscle groups to be full-functioning, so before you pop up as high as you can possibly go consider strength first. When we activate the muscles in our lower spine it adds stability versus just recklessly stretching and bending muscles, tendons and ligaments.
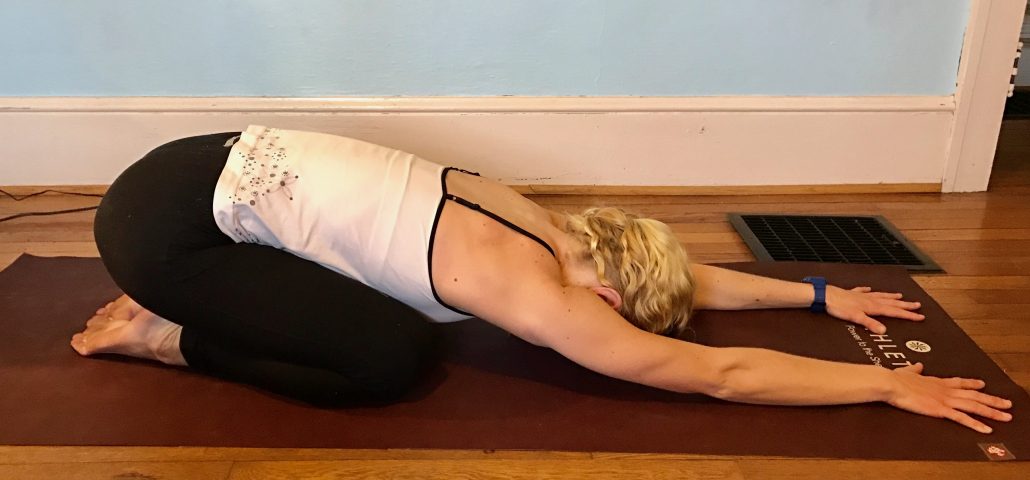
While lying face down, place an object you dare not lose in between your thighs (see below). To hold the object in place you will need to squeeze your inner thighs together, which in turn activates the muscles and ligaments around your lower spine. From there, gently raise yourself a few inches off the ground, pressing the tops of your feet into the ground and lengthening your spine. Take 5 or so deep breathes, rest, and repeat 4-5 times. Wrap it up with a counter pose like child’s pose. Once you feel under control with this move you can add legs. I recommend giving it a few days before you add legs. Remember to keep it simple so you can retrain your body to function more effectively.
That’s enough yoga for today!
The next step of functional training
Now let’s add in some core strength! We are a big fans of Foundation Training, developed to facilitate the body’s natural healing ability and quickly improve degenerative movement patterns. The next exercise – The Founder – could be a game changer for everyone, whether you bellyak or not! Here’s a quick tutorial to get you going:
***No banjos were harmed in the making of this blog post and author, Jamie MacLeod, makes no promise to the results you may see.***
